
Clipping your first webpage with web clipper
Connect the web clipper to the Notesnook app
Before you can clip pages, you must connect the web clipper with the Notesnook web app. The web clipper works completely offline and relies on the web app to sync & save your clips.
Activate the web clipper by clicking on the Notesnook icon in your browser toolbar
Pin the Notesnook Web Clipper to toolbar
Modern browsers group all extensions under their Extensions dropdown by default. It is recommended that you
Pin to toolbarthe Notesnook Web Clipper.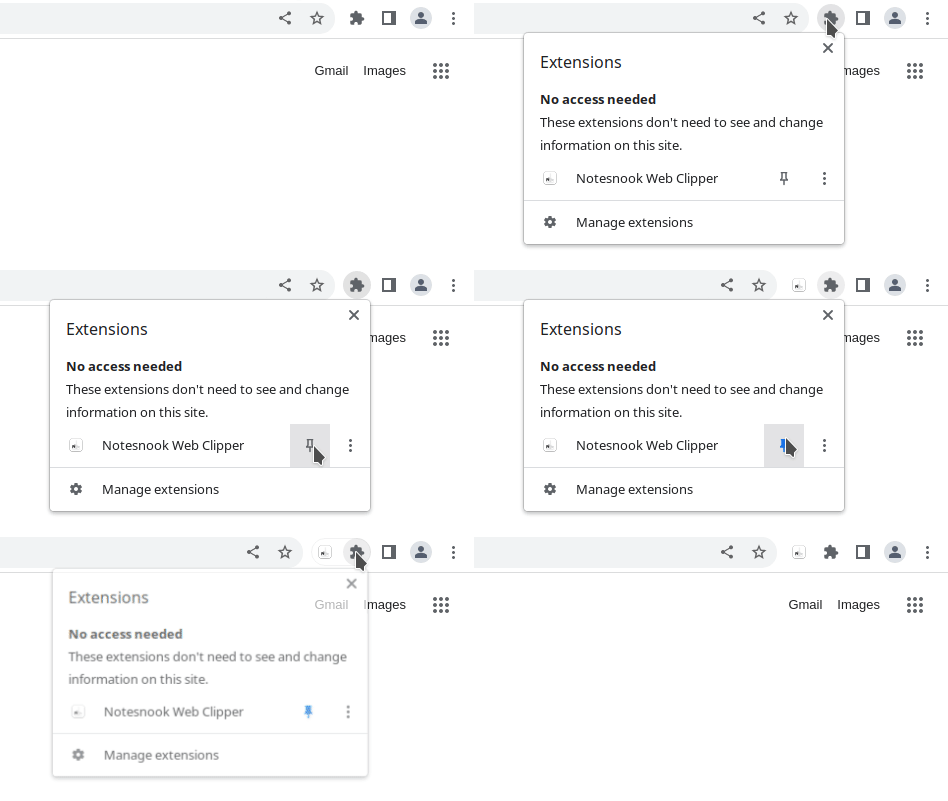
Click
Connect with NotesnookNotesnook web app will open in a new tab in the background. Wait a few seconds and the web clipper should automatically connect.
What to do if the web clipper doesn't connect?
There are a few things you can do to troubleshoot:
- Make sure you are logged in on the Notesnook web app
- Make sure you have the Notesnook web app opened in the background
- The web clipper doesn't yet support multiple browser windows so make sure there aren't any additional browser windows opened in the background.
- Try restarting the browser
:::
Selecting the clipping area
The web clipper provides a few options to help you clip exactly the part of the page you need:
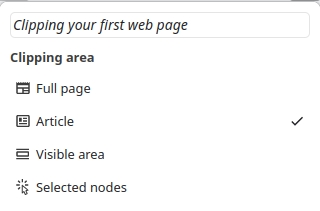
Full page
The Full page mode clips the web page from top to bottom including every possible detail. This mode is also the largest in size & consequently takes longer to clip.
Article
The Article mode is best for blogs & articles on the web because it tries to finds the "content" part of the page using a couple of heuristics. It works similar to Firefox's Reader Mode.
Visible area
The Visible area mode clips only the nodes that fit in the viewport. Any nodes that are partially in the viewport are also included.
Selected nodes
The Selected nodes mode allows you to select exactly which nodes you want to clip:
- Select the
Selected nodesmode from the Notesnook Web Clipper - You should now see a small popup in the bottom-right corner of the page.
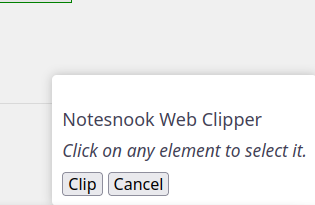
- Click all the nodes you want to clip (they can be in any part of the screen).
INFO
The web clipper stacks all the selected nodes vertically during final processing.
::: 4. Clicking again on the selected nodes will deselect them. 5. Once you are done, click the Clip button 6. Activate the Notesnook Web Clipper and save your clip.
Selecting the clipping mode
The clipping mode controls how the final clip should look.
Bookmark
Bookmark mode saves only the URL of the page along with the title. It is best suited to save pages for later reading/reference.
Simplified
Simplified mode doesn't include any styles. It is best suited for long-form content such as articles & blogs. All clips in Simplified mode are saved directly as is i.e. they do not appear as web clip embeds in the Notesnook editor.
Screenshot
Requires a signed-in account
Screenshot and Complete with styles are offered only while you are logged in to the Notesnook web app. Clip while signed out and the clipper falls back to Simplified. Both modes use some of your monthly attachment storage for every page you clip.
Screenshot mode includes all the styles + images but the final result is saved as an image i.e. it is non-interactive.
Complete with styles
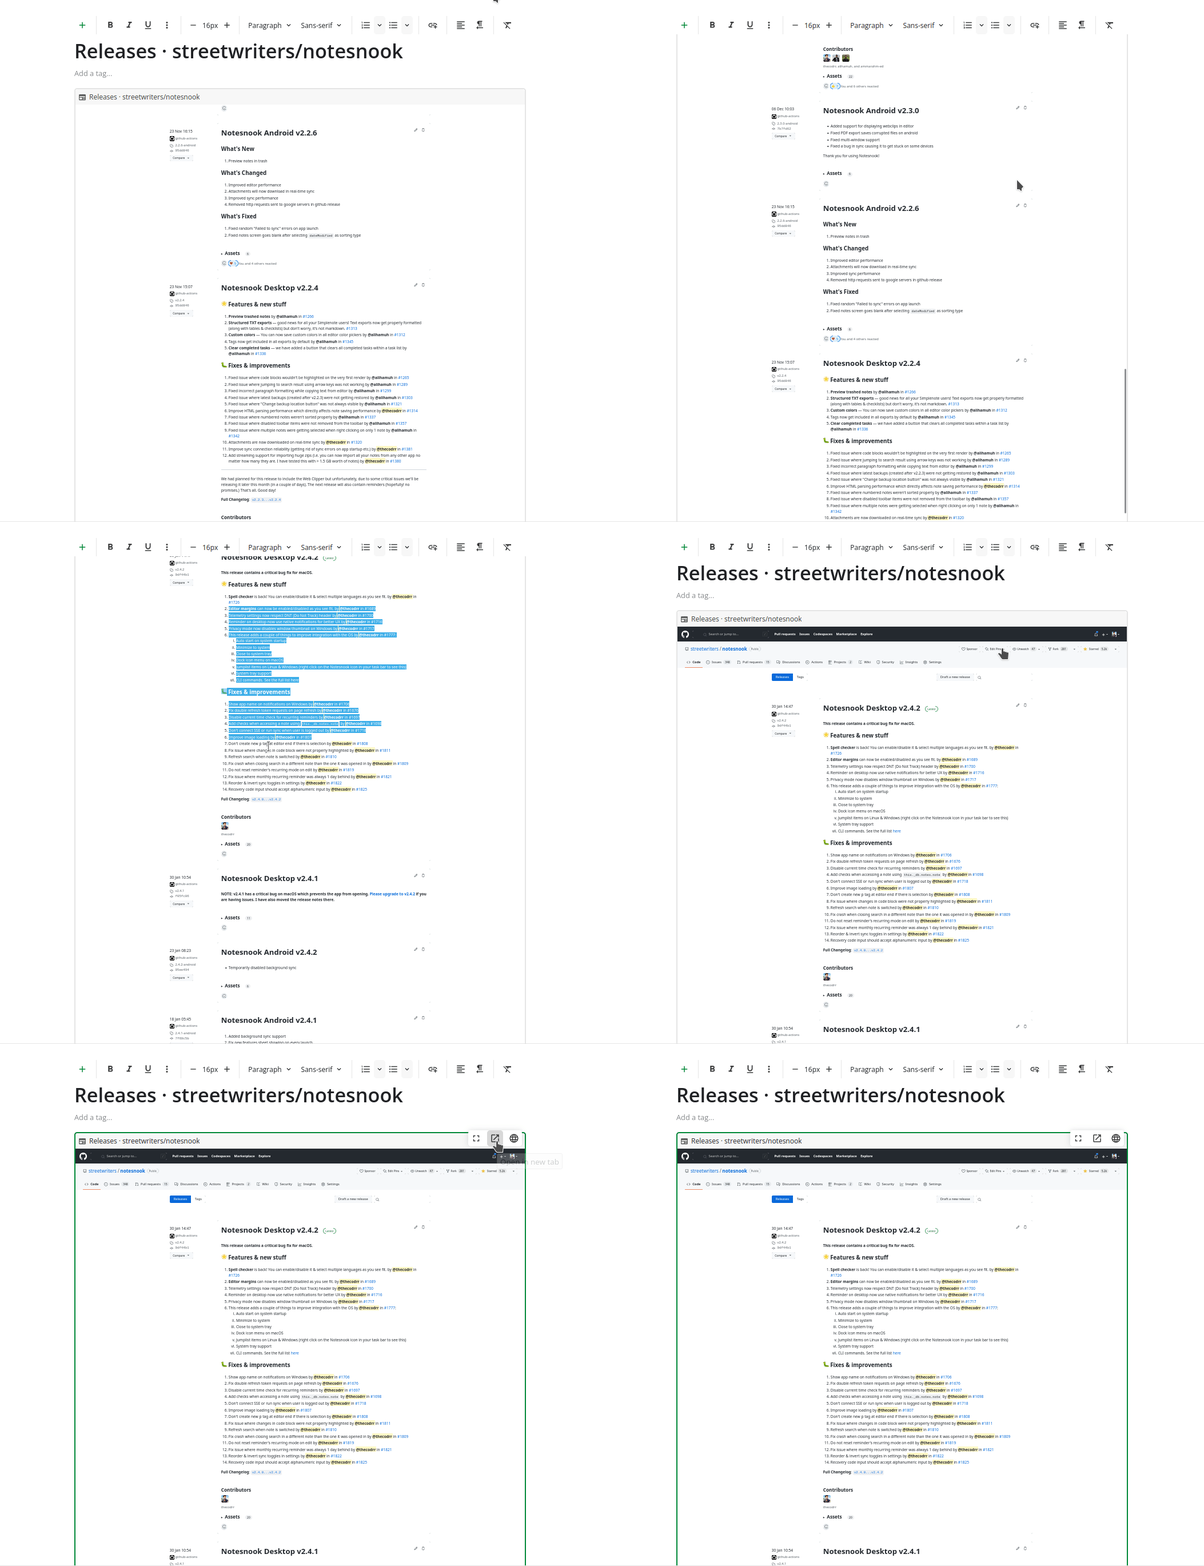
Complete with styles mode saves all images, styles & everything on the page to retain the maximum amount of information. The final result appears as an embed in the Notesnook editor which is fully interactive.
Organizing your web clip
The Notesnook Web Clipper offers 3 easy ways to organize your web clips (all of which are completely optional):
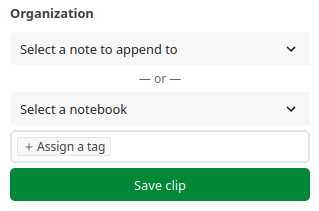
You can choose to append your web clip to an existing note and it'll be automatically added at the bottom of that note:
- Click
Select a note to append to - Select the note you want to append to
Saving your web clip
- Click the
Savebutton to save & sync your web clip.
Related pages
- Installing the web clipper — Chromium and Firefox setup
- Web clipper troubleshooting — when the clipper can't connect
- Attachments & files — where clips are stored and what they count against
- Plans & limits — monthly storage on each plan